Accelerate Innovation with Open Source AI
Gain visibility and control from the leader in SCA

New in Nexus Repository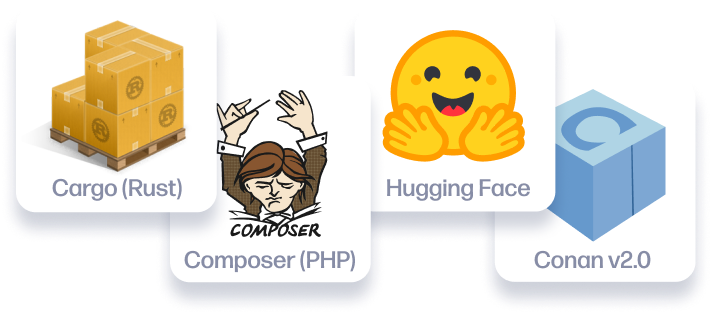
Open Source Malware Protection
A Better Way to SCA
With Repository Firewall
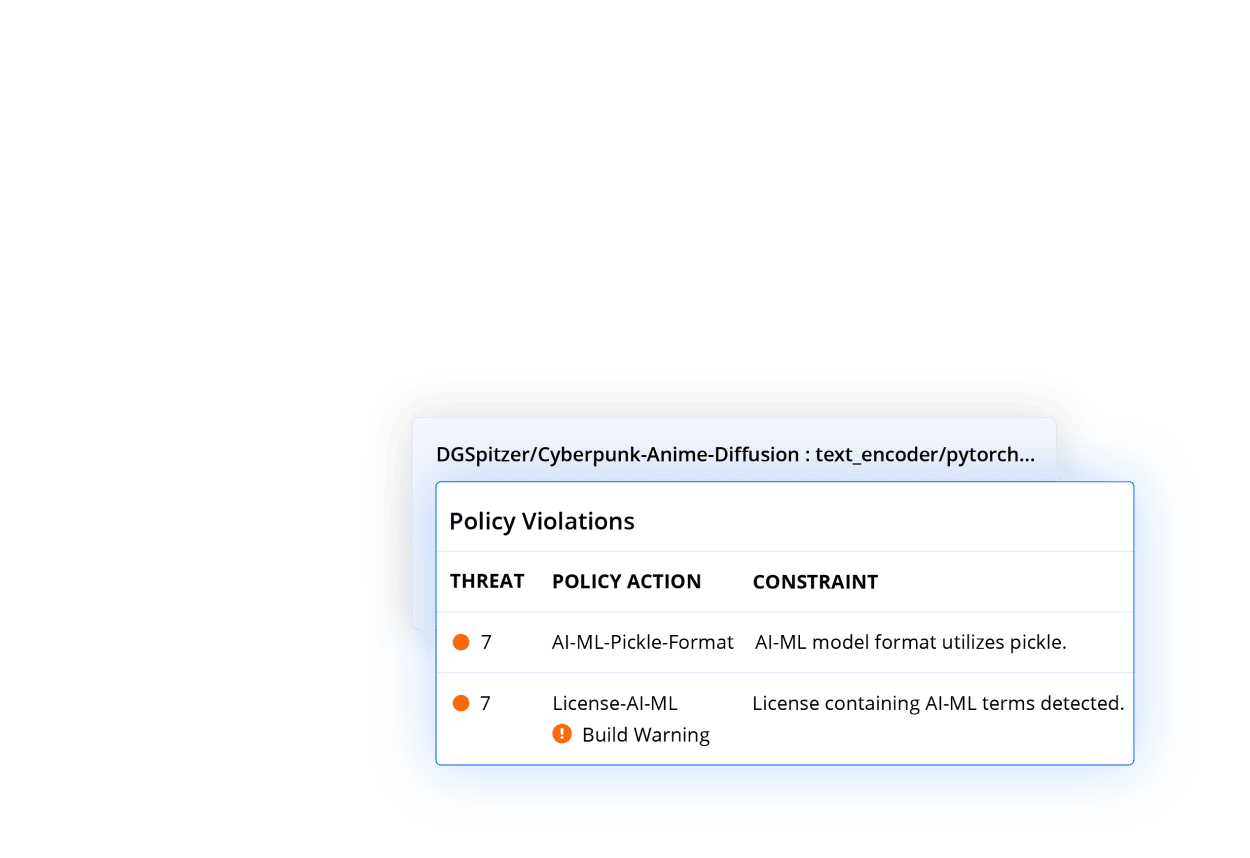
Intercept malicious components with AI-powered behavioral analysis
Protect yourself from malware attacks. Sonatype Repository Firewall's Artificial Intelligence predicts known and unknown malware days before any public advisory, protecting your software supply chain from zero-day attacks.
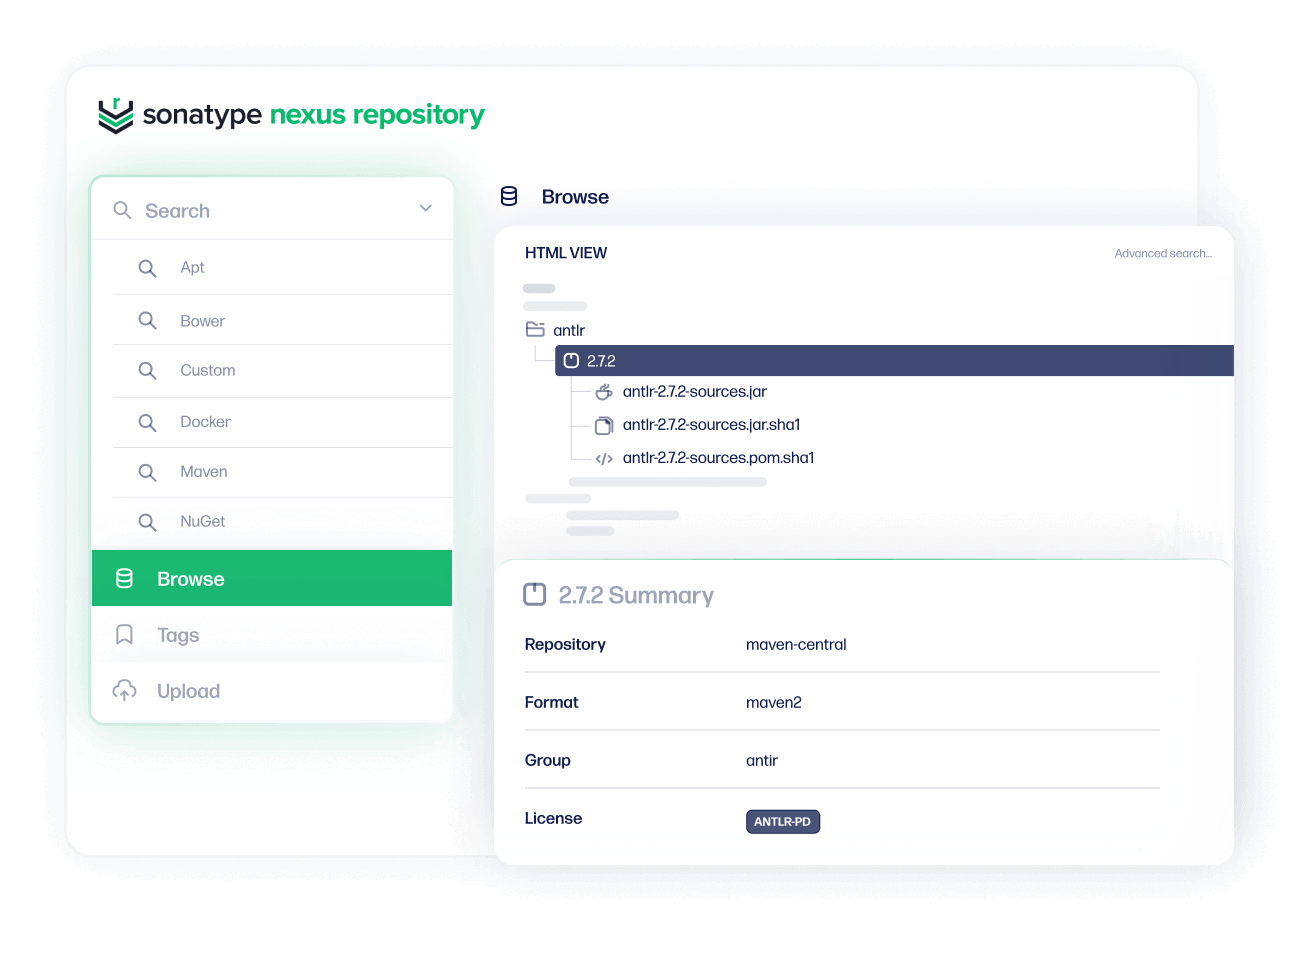
With Nexus Repository
Build fast with centralized components
Monitor and manage all of your components and binaries in a central source of truth. Sonatype Nexus Repository accelerates repeatable builds for faster speed-to-market and enterprise-ready flexibility.

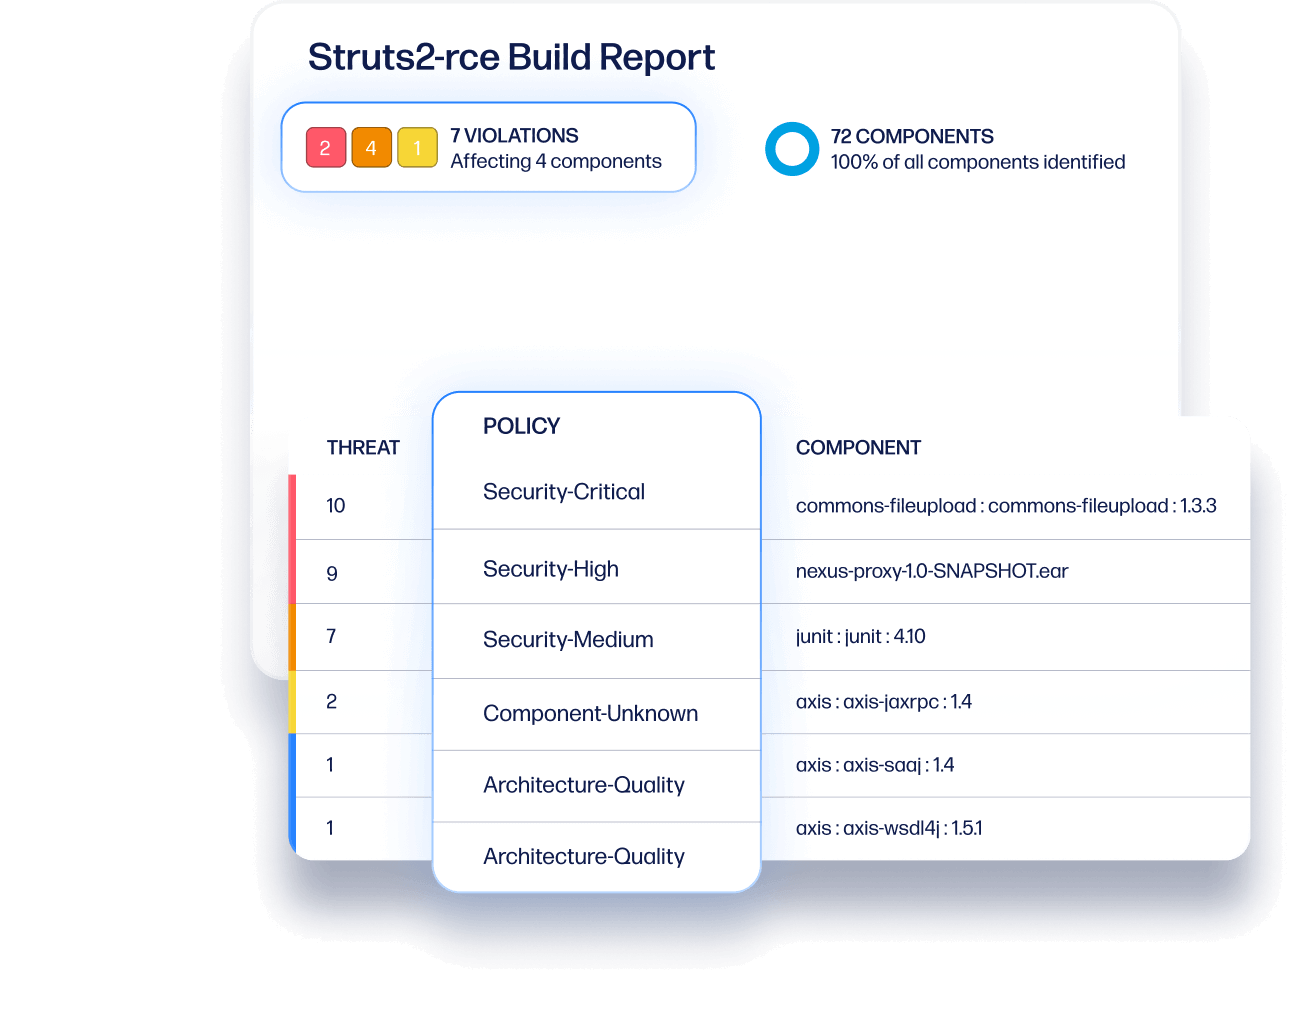
With Lifecycle
Reduce open source risk across your SDLC
From development to production and everything in between, Sonatype Lifecycle monitors the health and policy compliance of your open source components. Produce your software bill of materials and remediate vulnerabilities quickly with full visibility.

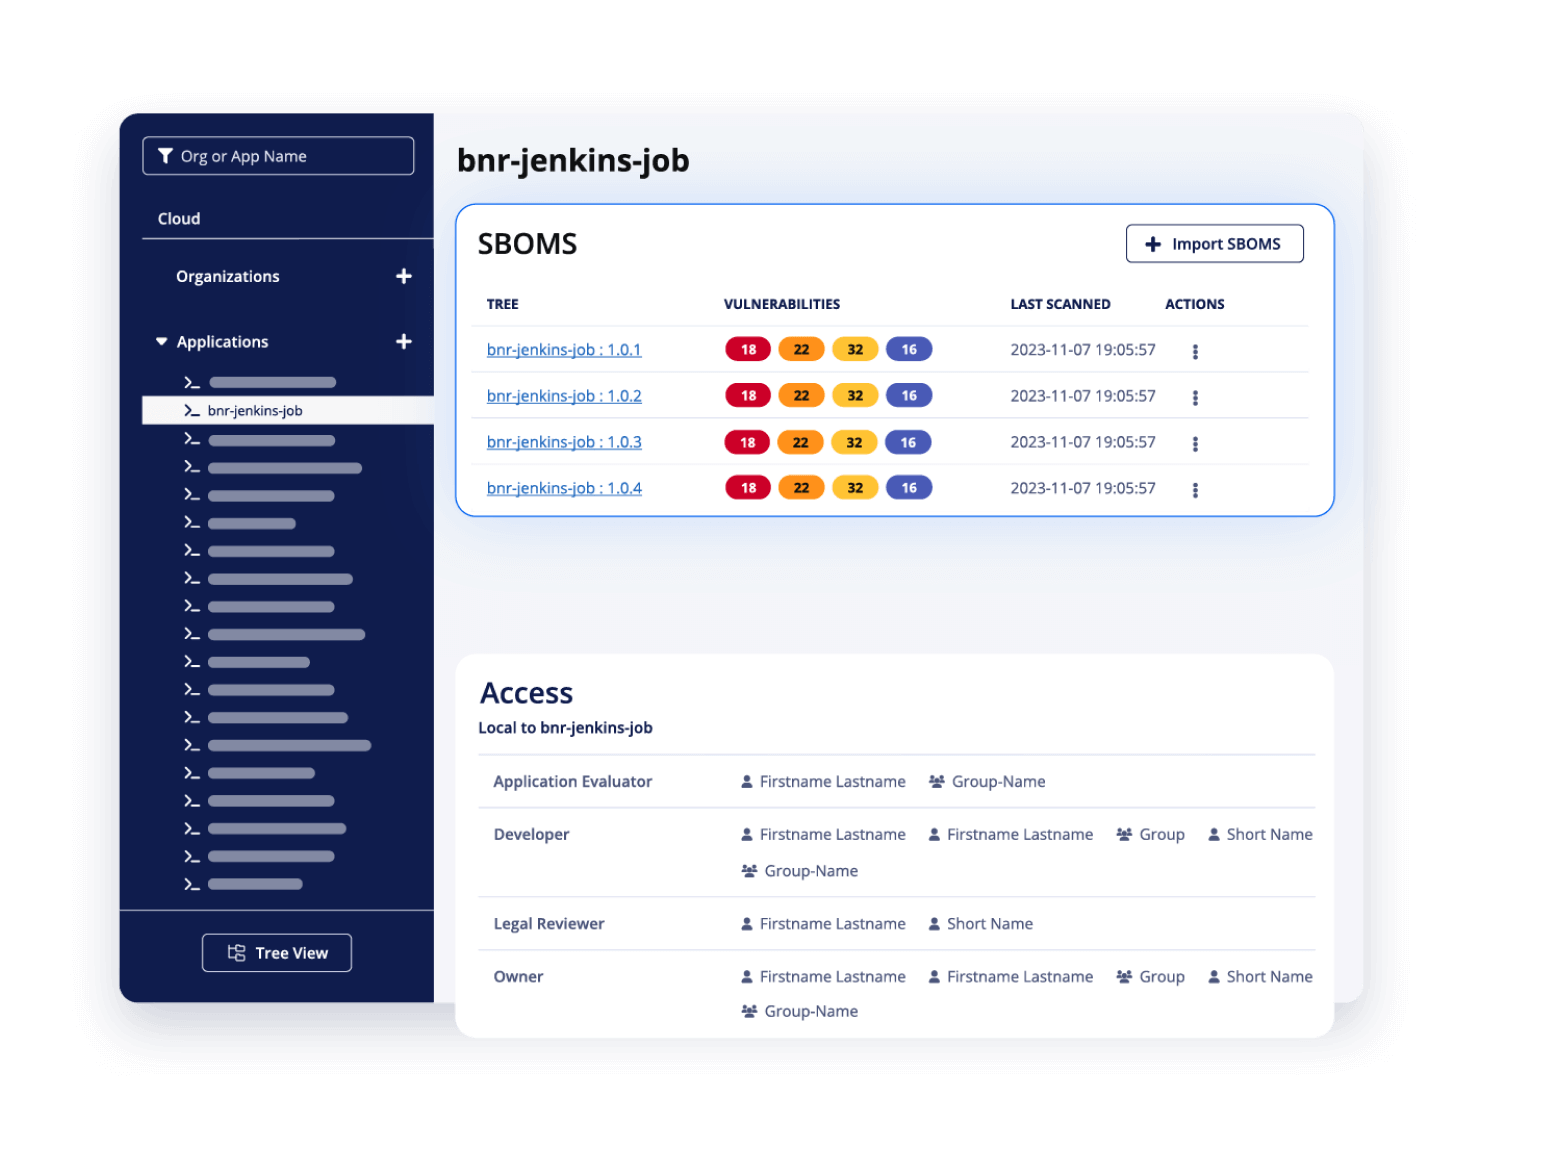
With SBOM Manager
SBOM management and compliance at scale
Sonatype’s best-in-class component scanning and vulnerability data together with market-leading SBOM management support to provide procurement, regulations compliance, and security teams with the tools they need to manage SBOMs
Sonatype Repository Firewall identified
75+
malware
attacks
that has eluded its custom systems -- in a matter of minutes
tens of thousands
infected virtual machines immediately identified & remediated
30,000
developers
led through NXRM2 to NXRM3 migration.
7 million
Unique applications scanned monthly, up from 100,000 in the first 6 months.
100%
Sonatype Lifecycle data accuracy, when compared to Snyk Open Source
350+
vulnerabilities identified and fixed by Sonatype Lifecycle in three years.
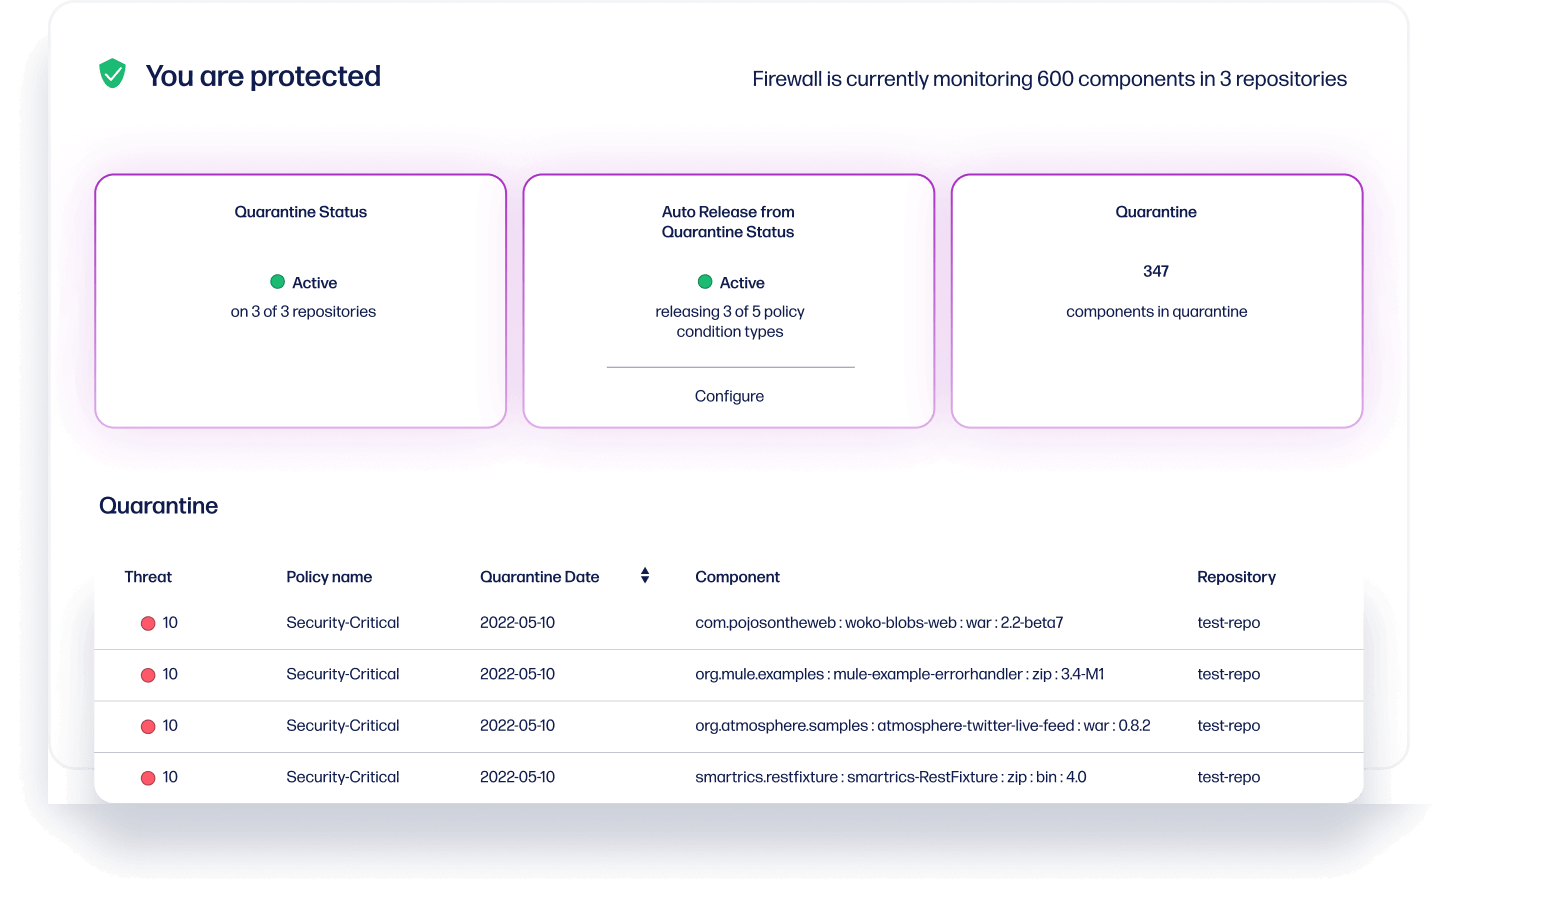
single enterprise dashboard
highlighting trends across all business units in the organization
9,000+
applications
infected virtual machines immediately identified & remediated
0 to 95%
coverage
increase for all global development, thanks to Sonatype Lifecycle
80%
of Log4J vulnerabilities
remediated & fixed within minutes
Integrate with your favorite tools
Sonatype has you covered with 50+ language and integrations across leading IDEs, source repositories, CI pipelines and ticketing systems.